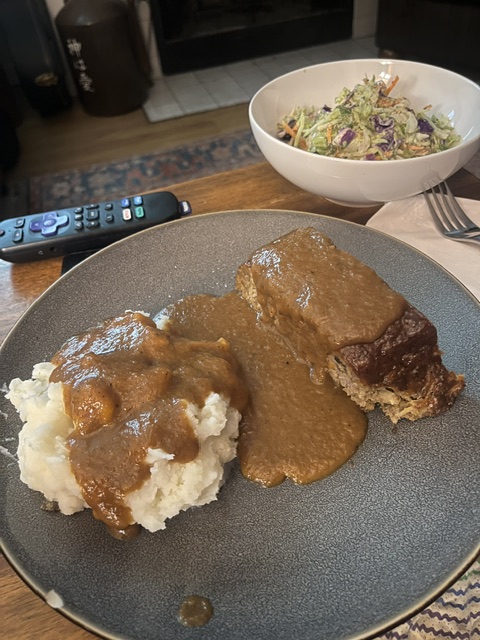
I love when I crave something. It usually is some sort of comfort food. Heather and I werre talking and I said, “I have been thinking about meatloaf. Meatloaf with mashed potatoes, meatloaf sandwhiches, and meatloaf ravioli in sage brown butter sauce. So, she said, “Well, make a meatloaf!”
So, built a deeply flavorful, crusted, tender, sliceable, week-night-luxury meatloaf—the kind that makes people go quiet after the first bite. This version layers umami + aromatics + texture + glaze contrast so it tastes like something between classic comfort food and a chef’s upgrade.
Meat Blend (key to greatness)
I used:
- 1 lb ground beef (80/20)
- 1 lb ground pork
This combo keeps the loaf juicy, rich, and structured.
Aromatic Base (flavor engine)
I ssautéd until soft:
- 1 medium onion, finely diced
- 3 cloves garlic
- 1 celery stalk, minced
- 1 carrot, finely minced
- 4 mushrooms finely chopped
- 1 tbsp olive oil
- pinch salt
Impoirtant note: Let cool before mixing.
This is the difference between good and restaurant-level meatloaf.
Binder (keeps it tender, not dense)
Mix together:
- 1 cup panko breadcrumbs
- ½ cup milk
- 2 eggs
- 2 tbsp Worcestershire
- 2 tbsp ketchup
- 1 tbsp Dijon mustard
- some parm and bread crumbs if needed to get the liquid down
Let soak 2 minutes.
Flavor Boosters (the secret layer)
Add:
- ½ cup grated parmesan
- 2 tbsp chopped parsley
- 1 tsp smoked paprika
- 1 tsp kosher salt
- ½ tsp black pepper
- optional: ½ tsp thyme
Combine
Gently mix:
meat + sautéed vegetables + binder + boosters
Do not overwork. Think folding, not kneading.
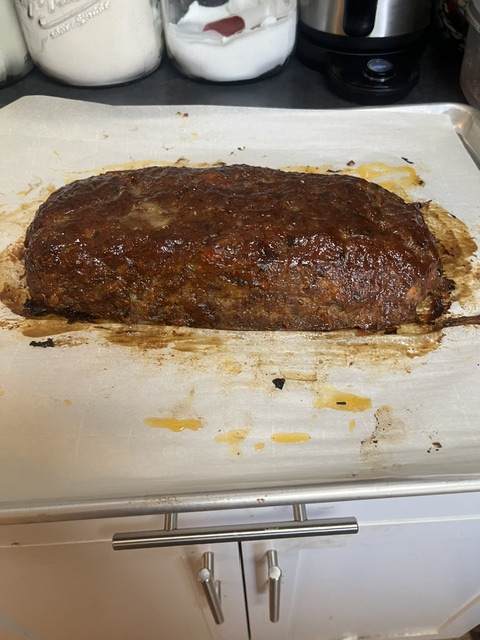
Shape into a free-form loaf on parchment (better crust than a pan).
Then to get that yummy crust:
Mix:
- ⅓ cup ketchup
- 2 tbsp brown sugar
- 1 tbsp Dijon mustard
- 1 tsp Worcestershire
- splash apple cider vinegar
Brush half before baking, half midway through.
It really does create that lacquered tangy crust.
Let it cool for at least 10 minutes before slicing.
Then, to create a great gravy, I sliced up an onion, and added them to a pan with all the pan juices I could capture. Once they caramalized, I added some beef stock, soy, red wine vinegar, worcester sauce, and dijon mustard and cooked it down till it tasted good. Then I ran the immersion blender and added a tablespoon of flour and cooked it down till I liked the texture. I turned it down and added 2 tablesoons of cold butter striring it in to make the gravy smooth. It is DELICIOUS.