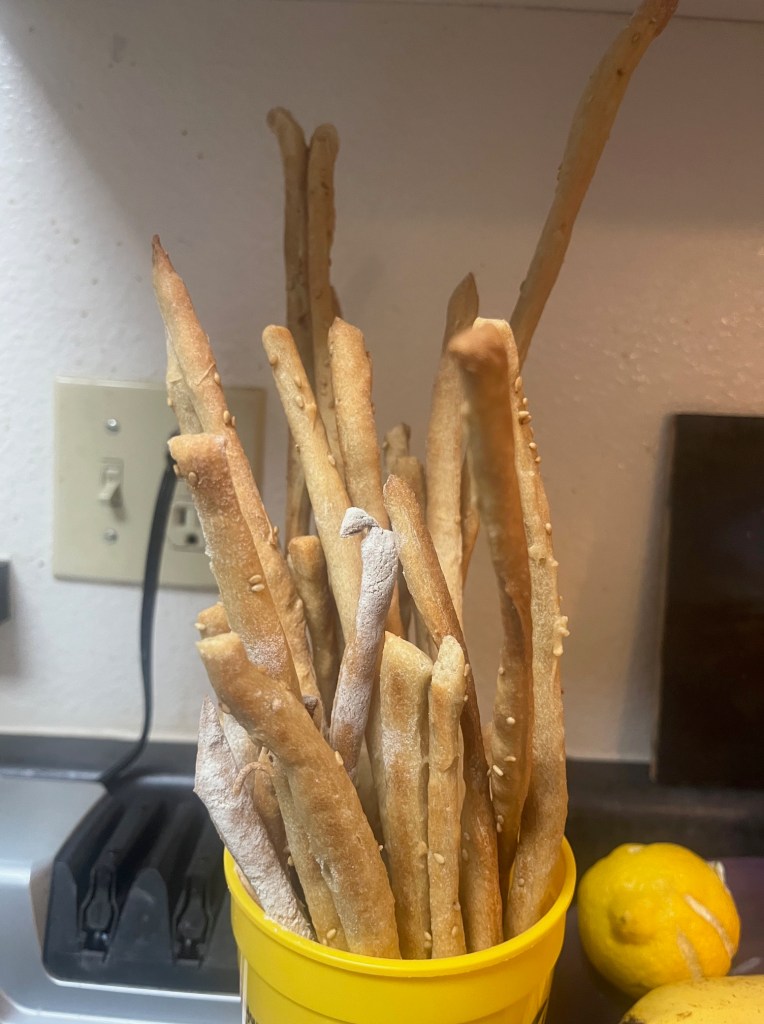
I am on a quest to make the perfect breadstick. Growing up in SA, we had these wonderful crisp sesame breadsticks that I just loved. My first effort was miserable, so I refined the recipe and it’s a little closer. It will get better. More work to do!
Ingredients
- 500 g bread flour (or all-purpose)
- 275 g water (55% hydration)
- 8 g salt
- 5 g instant yeast
- 35-40 g olive oil
- 80–100 g sesame seeds
The secret is to not overwork the dough. The process is:
The Mix
- Combine everything except the sesame seeds.
- Knead until smooth (about 6–8 minutes).
- You want a tight dough, not super elastic like pizza dough.
First rise
- Cover and rise 60–75 minutes until slightly puffy.
- Not doubled — just relaxed.
Roll the sheet
Roll dough into a rectangle about:
- ½ inch thick
- lightly dusted with flour
Sesame coating trick (important)
- Brush the surface lightly with water or egg white.
- Then press sesame seeds firmly into the dough.
- This ensures they stick and toast beautifully instead of falling off.
Cut breadsticks
- Cut strips about:
- thinner than thumb thickness
- 10–12 inches long
- Place them on parchment.
- One more important trick (almost nobody mentions):
- After cutting the sticks, roll them lightly on the counter once with your palm.
- This:
- compresses large air pockets
- evens thickness
- gives a more delicate snap
- Without that, you get dense cores that feel hard.
Short rest
- Rest 10–15 minutes only.
- You want very little rise.
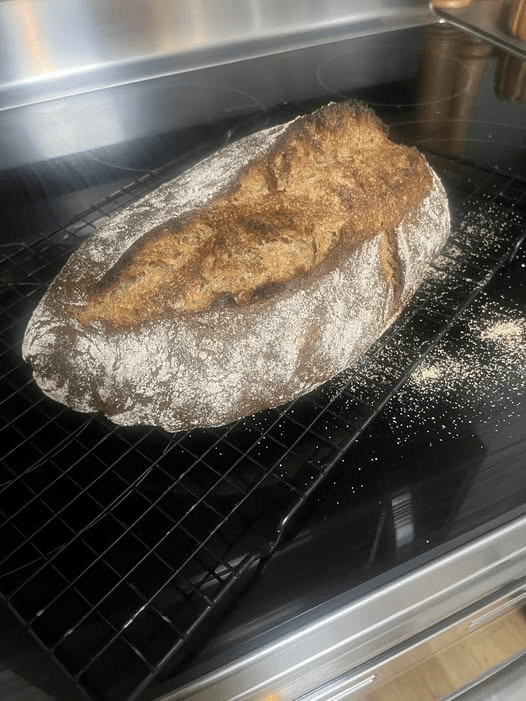
Bake
Stage 1 — structure
- 425°F
- Bake 12–14 minutes
- They should be lightly golden
Stage 2 — drying (the crunch step)
- Lower oven to 275°F
- Bake another 15–20 minutes.
- This removes moisture and creates the magic crunch.
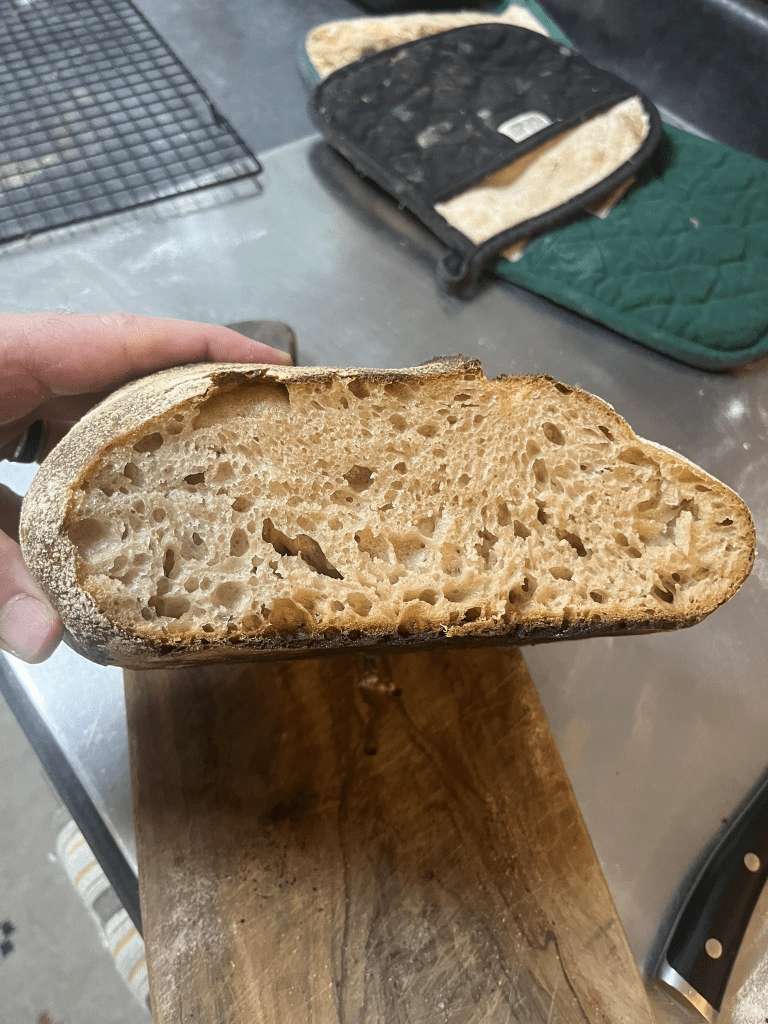
Final drying trick
- Turn the oven off, crack the door slightly, and leave them inside 10–15 minutes.
- This step is what gives the bakery snap.